Windows 10自动更新的现状
Windows 10是微软推出的一款操作系统,它引入了许多新功能和安全补丁,以确保用户获得最佳体验。然而,自动更新这一特性也常常让部分用户感到困扰。每次设备启动时,进度条不断显示更新,这不仅消耗时间,有时还可能影响工作与娱乐活动。因此,关闭或调整这些自动更新设置成为了一项重要需求。
如何通过设置菜单关闭自动更新
在开始之前,应了解 Windows 10 提供了不同的方法来管理其自动更新选项。最简单直接的方式便是使用“设置”应用程序。在桌面上点击“开始”按钮,然后选择齿轮图标以打开设置窗口。

进入“更新与安全”,然后找到左侧菜单中的“Windows 更新”。这里会列出当前状态及可用的更改选项。这一过程中有几个关键点需要注意:
- 暂停更新时间:可以选择一个最长为35天的暂缓期,在此期间,不会收到新的功能或质量更新。
- 高级选项:在这个页面,可以进行更多自定义,包括延迟安装某些类型的更新,以及通知方式等。有一些特殊情况下,也能设定非活跃时间段,从而避免不必要干扰。
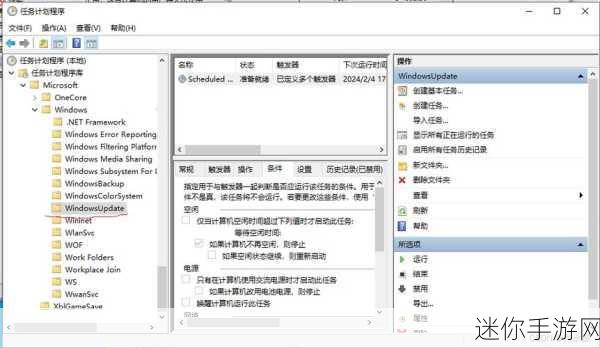
组策略编辑器中的细节控制
If your version of Windows 10 is the Professional or Enterprise edition, Group Policy Editor offers more control over update settings. Press Win + R to open the Run dialog, type in “gpedit.msc”, and hit Enter.
The left pane will show various configurations under Computer Configuration > Administrative Templates > Windows Components > Windows Update. Here are a few notable policies:
- No Auto Restart with Logged On Users for Scheduled Automatic Updates Installation:This policy ensures that updates won't restart while users are logged on.
- Select when Preview Builds and Feature Updates are received:You can specify which feature updates should be installed automatically. .
Edit Registry Settings for Advanced Users
If familiarity with technical modifications exists, another method involves editing the registry values directly. However, this approach需谨慎处理,因为错误修改可能导致系统问题。以下步骤适合于具有一定技术背景的人士:
1. 按下Win + R,并输入`regedit`后按Enter键开启注册表编辑器
2. 导航至 `HKEY_LOCAL_MACHINE\SOFTWARE\Policies\Microsoft\Windows`
如果没有名为‘Windows’的新建文件夹,请右击空白区域并添加它;
4. 添加名为"AU"的新子键,在 "AU" 键中创建DWORD(32位)值命名 'NoAutoUpdate' 并将其值设定为1。
5.务必备份你的注册表,以防万一出现任何意外情况!格式化或者损坏可能导致运行障碍!.';
6..重启电脑,让所有变更生效 .
.